I. Bearing Installation
Bearing installation directly determines its precision, service life and operating performance. Therefore, design and assembly departments must conduct thorough research and follow standard operating procedures as follows:
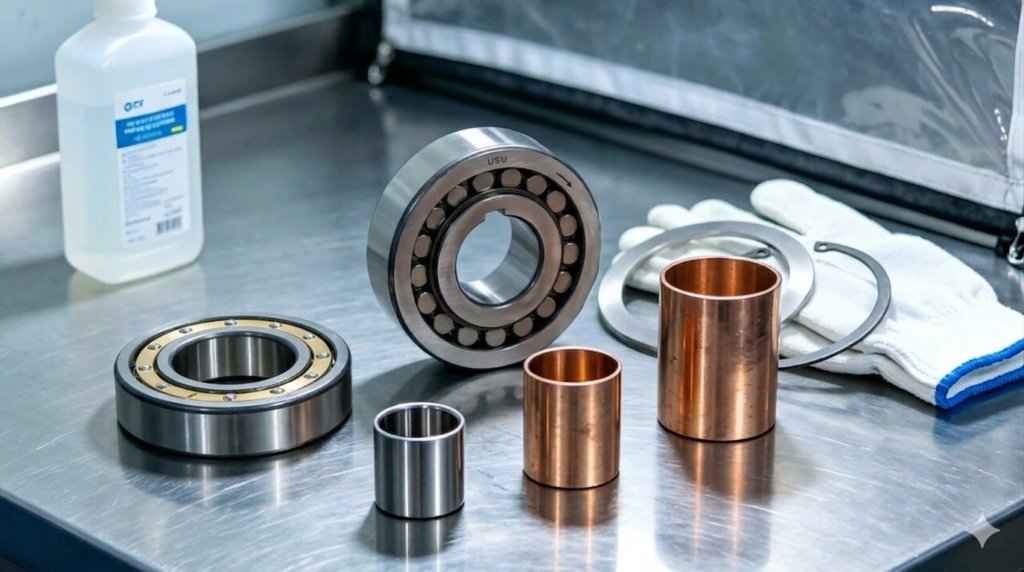
- Clean the bearing and matching components
- Inspect dimensions and finishing quality of related parts
- Proceed with installation (Unpack bearings right before mounting)
- Conduct post-installation inspection
- Fill with lubricant
For grease lubrication, direct grease filling is available without cleaning. For oil lubrication, cleaning is generally unnecessary. Nevertheless, bearings for precision instruments or high-speed operation must be cleaned with clean oil to remove anti-rust coating. Bearings without anti-rust oil are prone to rust and shall not be left idle. Pre-greased bearings can be used directly without cleaning.
Installation methods vary according to bearing structure and fit tolerance. Since most applications feature rotating shafts, inner rings usually adopt interference fit. Cylindrical bore bearings are commonly mounted by press fitting or hot fitting. Tapered bore bearings can be directly installed on tapered shafts or mounted with sleeves.
1. Installation of Cylindrical Bore Bearings
(1) Press Fitting Method
This method is widely used for small-sized bearings. Place a spacer against the inner ring and press steadily until the inner ring closely fits the shaft shoulder. Never press the outer ring to install the inner ring, which will cause indentation and damage on raceways.
Lubricate fitting surfaces in advance when installing. If hammering is unavoidable, pad the inner ring with spacers. This method is only applicable for small interference fit, not for large interference fit or medium/large bearings.
For non-separable bearings such as deep groove ball bearings requiring interference fit on both inner and outer rings, use spacers and screw/hydraulic pressure to press both rings in place simultaneously. For self-aligning ball bearings whose outer rings are prone to tilting, spacer-assisted installation is recommended even without interference fit.
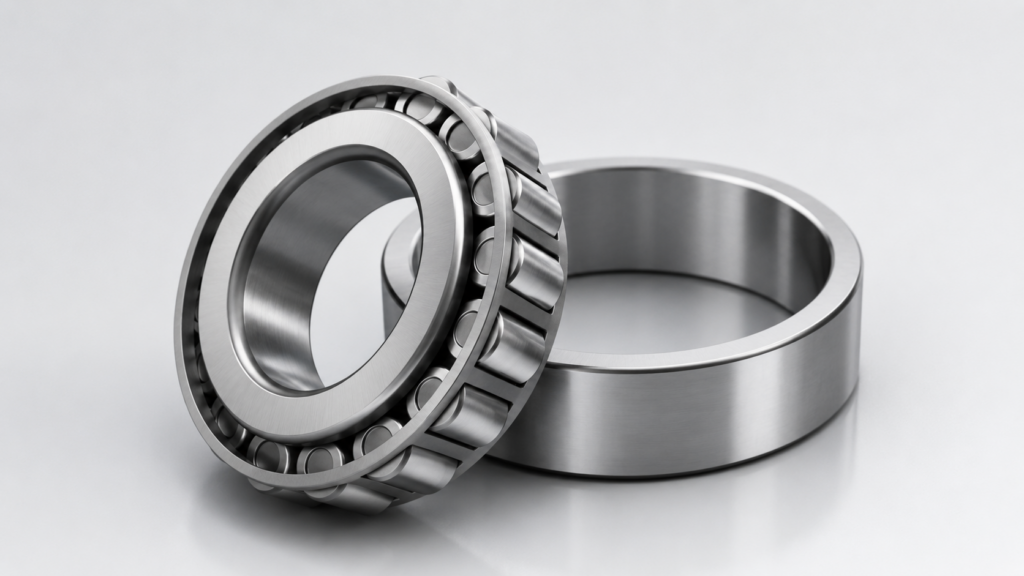
For separable bearings like cylindrical roller bearings and tapered roller bearings, mount inner rings on shafts and outer rings in housings separately. When assembling matched inner and outer rings, align them gently to avoid center deviation; forced assembly will scratch raceway surfaces.
(2) Hot Fitting Method
Large bearings require enormous pressure for press fitting, hence hot fitting is widely adopted. Heat bearings in oil for thermal expansion for easy shaft mounting, which avoids abnormal stress and improves installation efficiency.
Heating temperature is determined by bearing size and required interference. Key notes for hot fitting:
a. Do not heat bearings above 120℃
b. Place bearings on metal mesh racks or hang them to avoid direct contact with oil tank bottom
c. Heat bearings 20℃-30℃ higher than target temperature to prevent inner ring cooling during operation
d. Fasten bearings with shaft nuts or other fasteners after cooling to eliminate gaps between inner rings and shaft shoulders
2. Installation of Tapered Bore Bearings
Inner rings of tapered bore bearings are mostly installed via interference fit, whose interference magnitude is controlled by axial pushing distance on tapered shafts, adapter sleeves or withdrawal sleeves.
For small and medium-sized bearings, push inner rings into proper position via installation tools or lock nuts. Use hook wrenches or impact wrenches to fasten sleeve nuts for adapter sleeves, and push withdrawal sleeves into bearing bores with dedicated tools or end plates.
Large bearings need hydraulic nuts for installation on tapered shafts, adapter sleeves and withdrawal sleeves.
3. Housing Mounting
Bearings fitted in housings mostly adopt clearance fit for inner assembly and interference fit for outer rings, usually installed by press fitting or cold shrink fitting. When using dry ice for cold assembly, moisture in air will condense on bearing surfaces, so effective anti-rust measures are required.
4. Running Inspection
Check installation quality after mounting. Rotate small equipment manually to verify flexible operation. Check for jamming caused by foreign matters, scratches and indentations, uneven torque due to poor machining or improper installation, and excessive torque resulted from insufficient clearance and sealing friction. Proceed with formal operation if no abnormality exists.
For large equipment unable to rotate manually, start without load then stop immediately for inertial operation inspection. Check vibration, abnormal noise and component contact before official operation.
II. Bearing Dismantling
Follow standard regulations and adopt targeted tools and methods for different bearing types. If bearings have tight fit with shafts and loose fit with housings, remove bearings together with shafts first, then separate bearings from shafts.
1. Outer Ring Dismantling
Pre-reserve several threaded holes on housings for jackscrews to evenly eject interference-fit outer rings. These holes are normally sealed with blank plugs. For separable bearings such as tapered roller bearings, make notches on housing shoulders for spacer-assisted press dismantling or gentle hammering removal.
2. Inner Ring Dismantling
Extract inner rings via press machines ensuring pulling force acts solely on inner rings. All pullers must firmly clamp inner ring side faces. Optimize shaft shoulder dimensions or process puller grooves for convenient disassembly.
Hydraulic oil injection through bearing oil holes facilitates dismantling of large inner rings. Combine hydraulic method and pullers for wide-width bearings. Induction heating is applied to expand and remove cylindrical roller bearing inner rings, which is also suitable for mass disassembly.
3. Hammer Dismantling
It is a simple and common method to separate fitted components via hammer impact. Common tools include hand hammers, drifts and spacers.
Use spacers on end faces when dismantling sliding bearing bushes and rolling bearing outer rings. Step drifts are ideal for small-diameter bushes, whose small end matches bush inner hole and large end is 0.5mm smaller than bush outer diameter. Use sleeves for large-diameter components. Symmetrical wedge padding is adopted to remove ordinary small bearing covers.
III. Notes on Bearing Application
Bearings are precision components. Even high-performance bearings fail to exert expected effects with improper use. Key precautions are as follows:
- Keep bearings and surrounding environment clean
Invisible tiny dust will accelerate wear, vibration and noise. Maintain cleanliness of bearings, accessories, tools and working sites.
- Operate carefully during installation and use
Avoid forced stamping, direct hammer striking on bearings and pressure transmission through rolling elements.
- Use dedicated and accurate mounting tools
Prioritize special tools and keep away from woven fabrics and short-fiber articles.
- Prevent bearing rust
Wash sweat thoroughly and apply high-grade mineral oil before manual handling, especially in rainy seasons and summer.
Under specific working conditions (especially light load), bearings can achieve longer service life than standard calculation. Ideal lubricating oil film isolates rolling surfaces and prevents surface damage from contaminants, even realizing theoretically permanent service life under optimal conditions.
IV. Common Bearing Faults & Solutions
Loud Metallic Noise
- Abnormal load: Select proper assembly clearance and preload
- Poor assembly: Improve shaft machining precision and installation process
- Insufficient lubricant: Refill or replace with suitable lubricant
Regular Noise
- Raceway corrosion/indentation/scratches by foreign matters: Clean parts and use clean grease
- Raceway spalling: Replace bearings due to fatigue wear
Irregular Abnormal Noise
- Foreign matter intrusion: Clean parts and apply clean lubricant
- Excessive clearance: Optimize fit tolerance and clearance selection
- Steel ball damage: Replace damaged bearings
Excessive Temperature Rise
- Excessive lubricant: Reduce filling quantity
- Insufficient or improper lubricant: Add lubricant or select matched type
- Creepage on fitting surfaces or oversize sealing parts: Modify matching dimensions and change sealing structure
Severe Shaft Vibration
- Surface spalling: Replace worn bearings
- Defective assembly: Upgrade machining precision and installation technique
- Foreign matter contamination: Clean relevant components
Severe Lubricant Leakage & Discoloration
- Overfilled lubricant: Reduce dosage
- External contamination: Thoroughly clean all matched parts